Tables
Set up your tables so bookings are assigned correctly.
Where to Find It
Go to Venue Management > All Venues > Tables.
What You Can Do
- Create tables with names or numbers
- Set minimum and maximum covers
- Enable or disable tables
Manage Your Tables
- Create, view, edit, disable & delete tables as required.
Table Overview
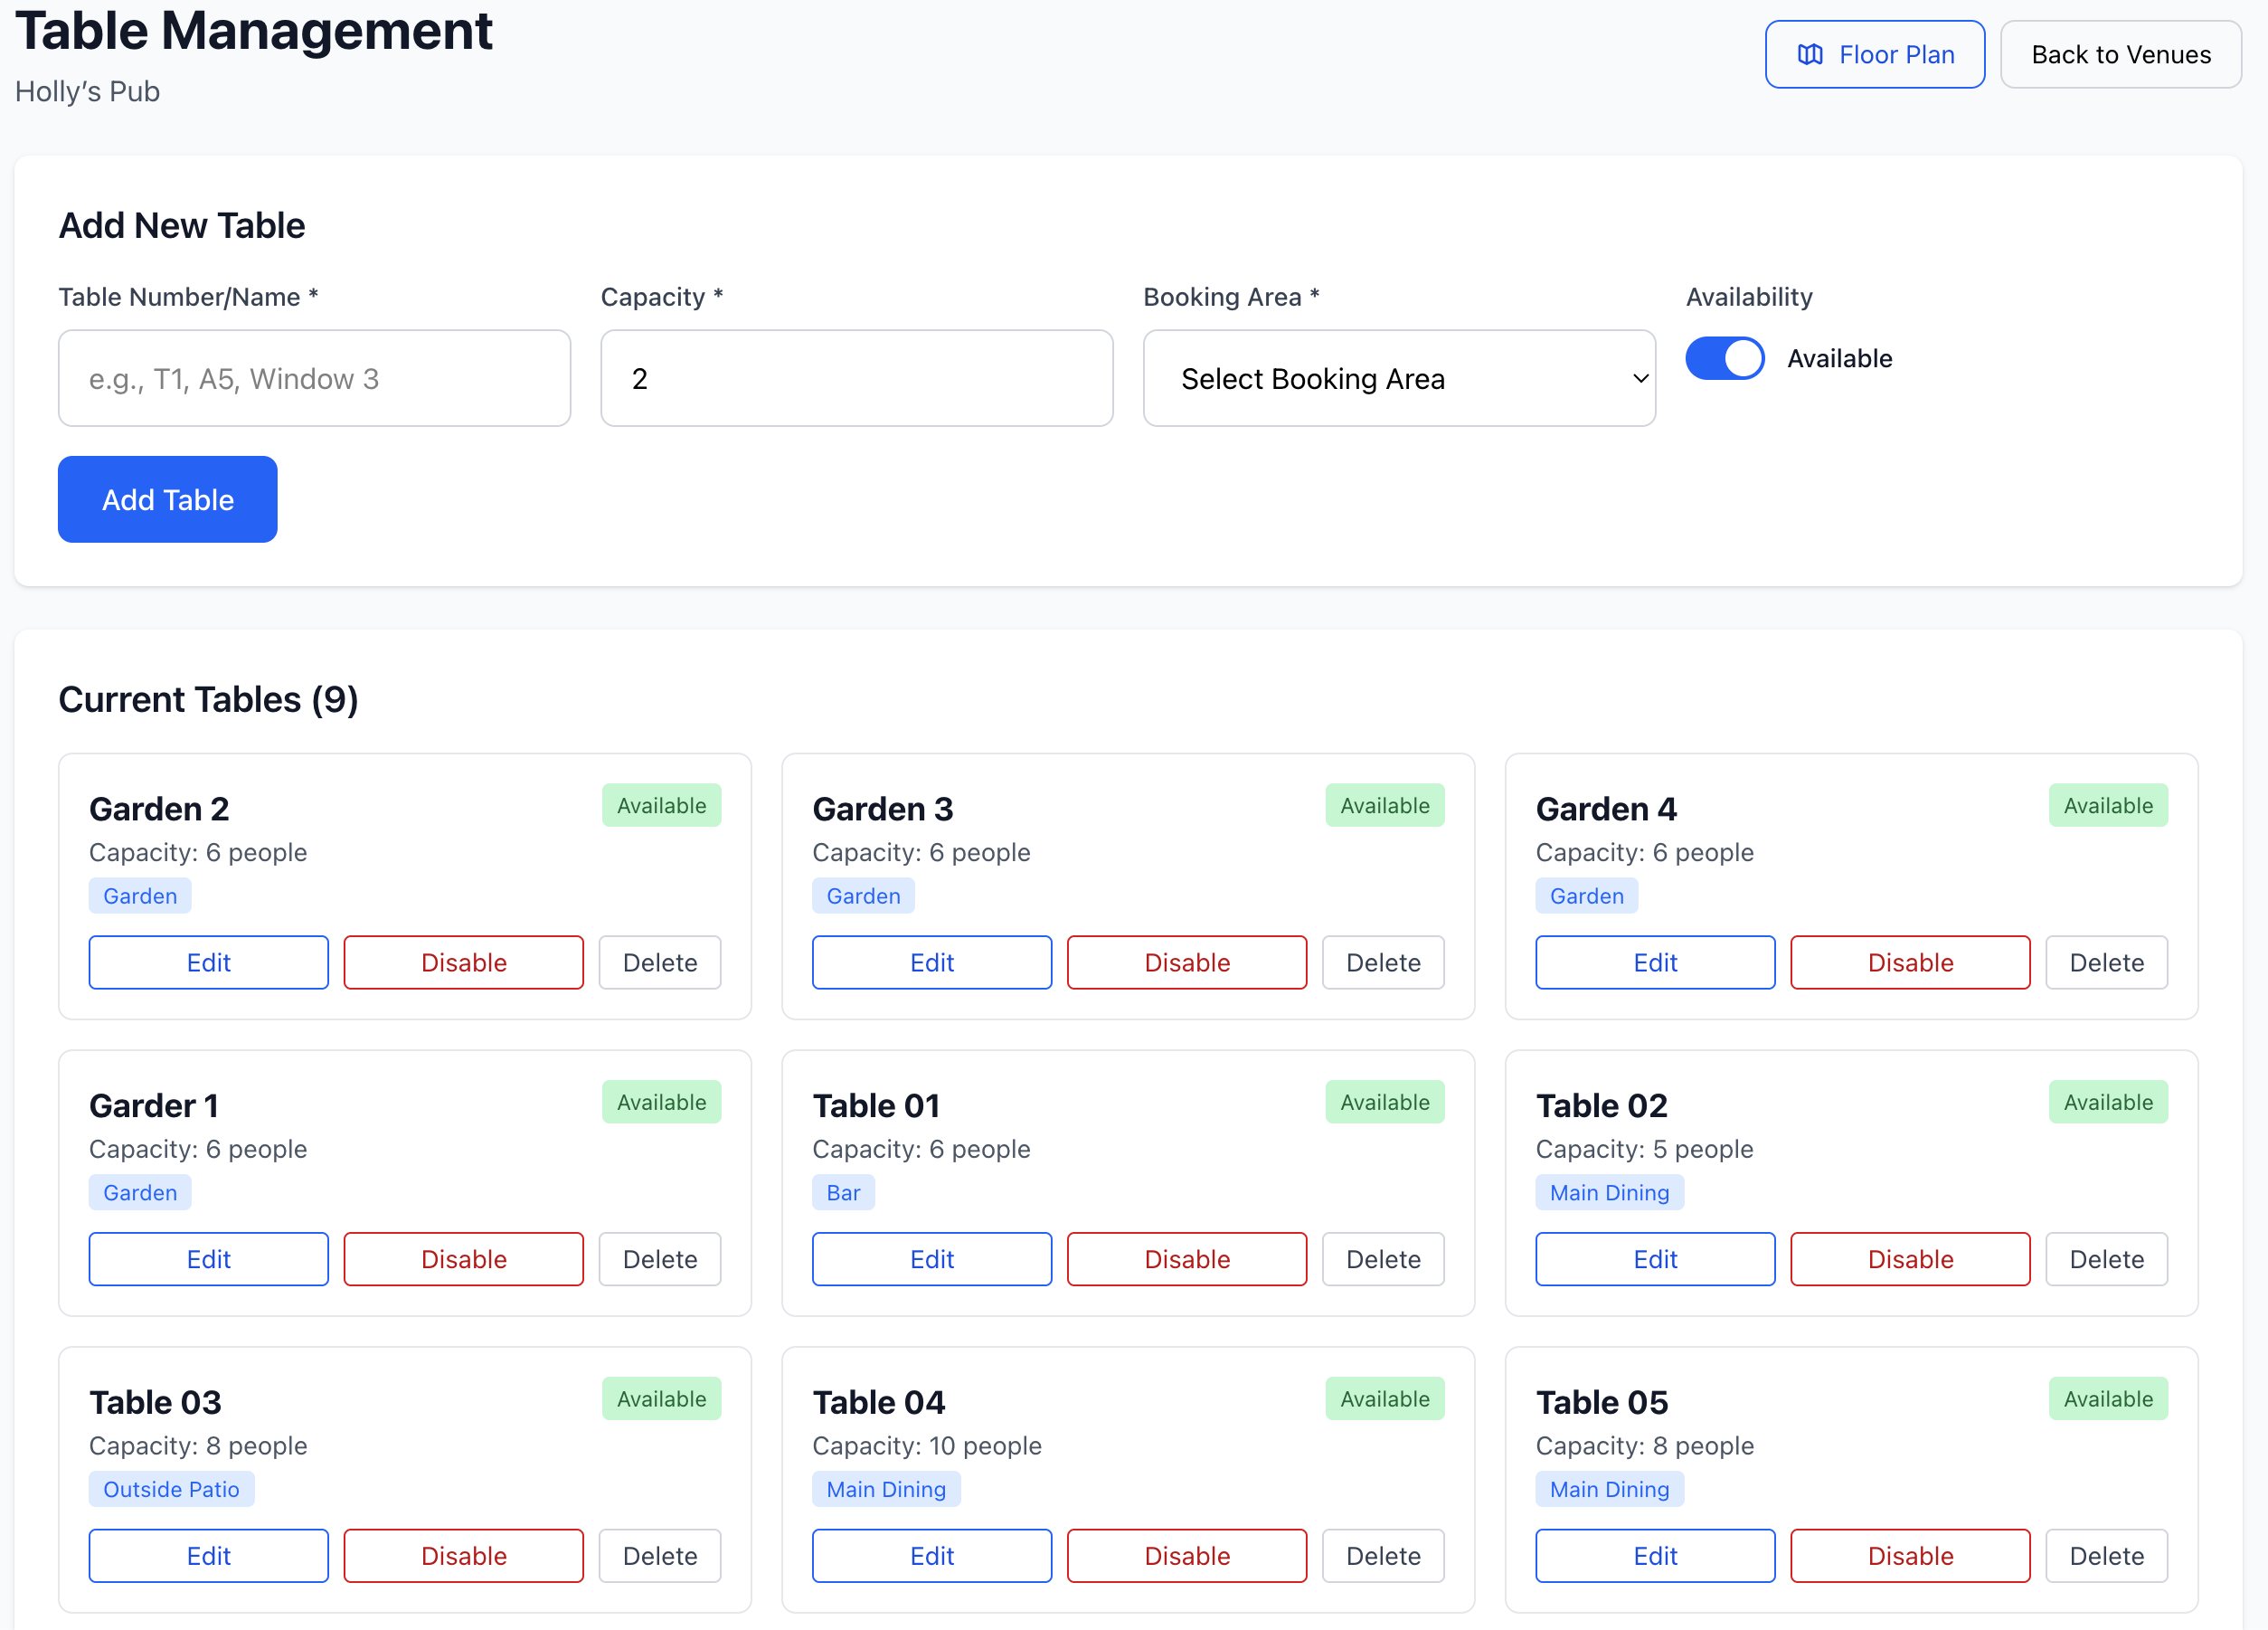
Add New Table
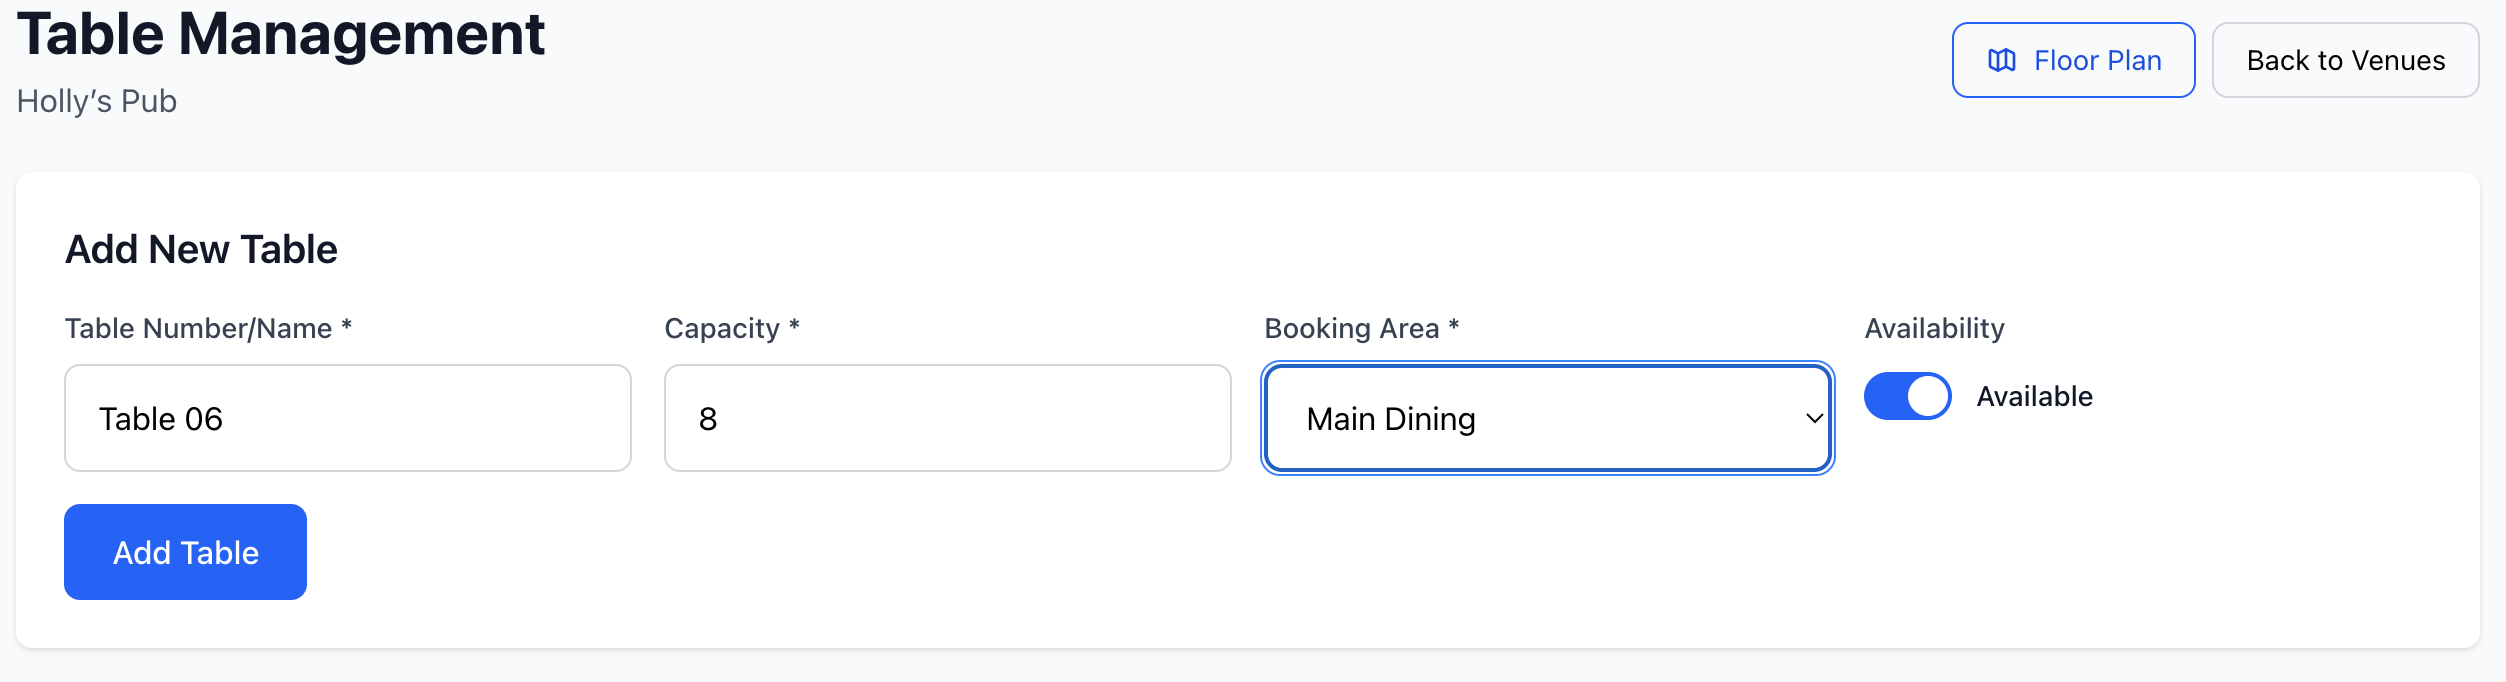
Enter in the below details
- Unique table name
- Capacity
- The booking area where this table resides
- Available (tick or un-tick)
- You may have a chefs table or an area at the bar that is only available on sepecial occasions
Edit A Table
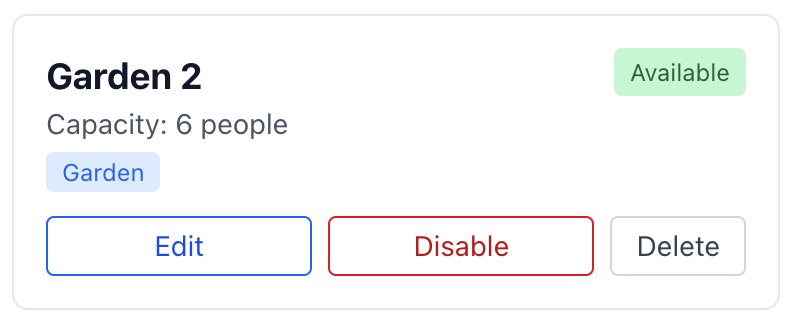
- Click 'Edit' and alter the details in the top row
- Click 'Disable' to make a table unavailable to book
- Click 'Delete' to purge a table from your system
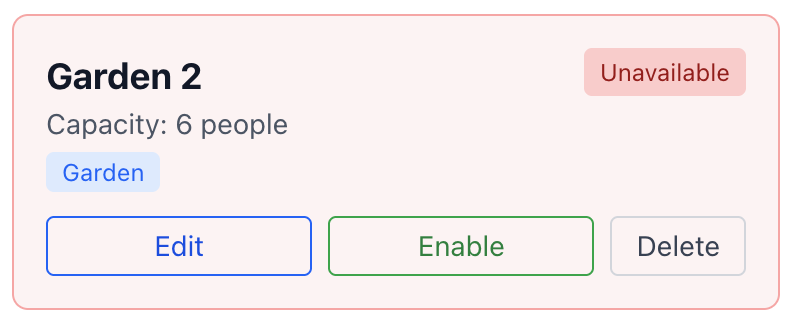
Example. Disabled A Table
Example. Delete A Table
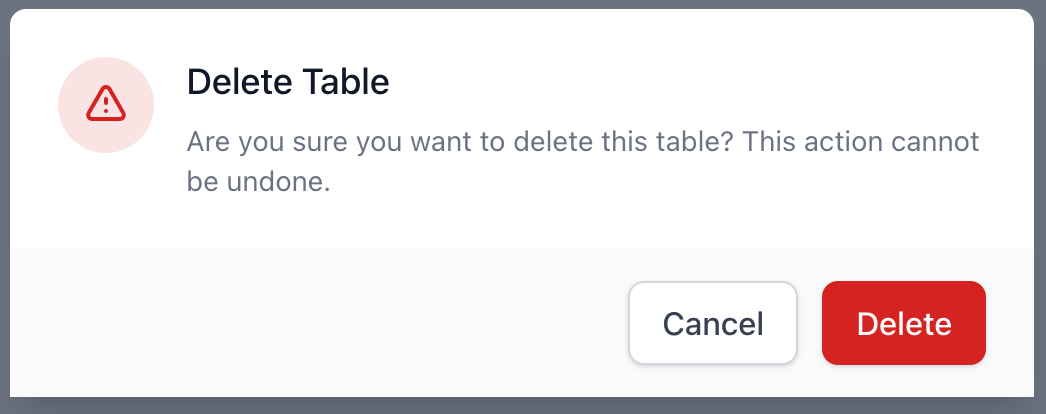
You can't recovery this table and if required again, you will need to re-create it.
Tips
- Match table names to your floor plan
- Keep capacities realistic to avoid overbooking
Next Steps
- Arrange layout in Floor Plan
- Review bookings in View Reservations